The first step to success! Be SURE to read the very last step!
Intro: you will be setting up your clinical (brick-and-mortar) and field/capstone affiliates with their locations. You will tell Sterling which report types are allowed at which locations.
You can find more info about report types here.
From that info, we will build a complete reference for your students including maps!
Let’s get started!
Make sure you are in the role of Clinical Director. Navigate to Tools>>Affiliates
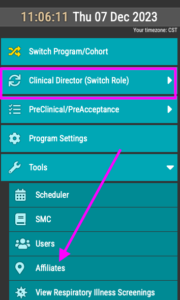
Click Create new affiliate

First, you will name your affiliate. Within each affiliate, you will add locations such as station numbers or hospital departments, so here we just want the main name of the affiliate.

Fill out the information requested. You can learn about Report Types here–it is critical to get these correct because that is part of how we ensure the SMC is properly populated.
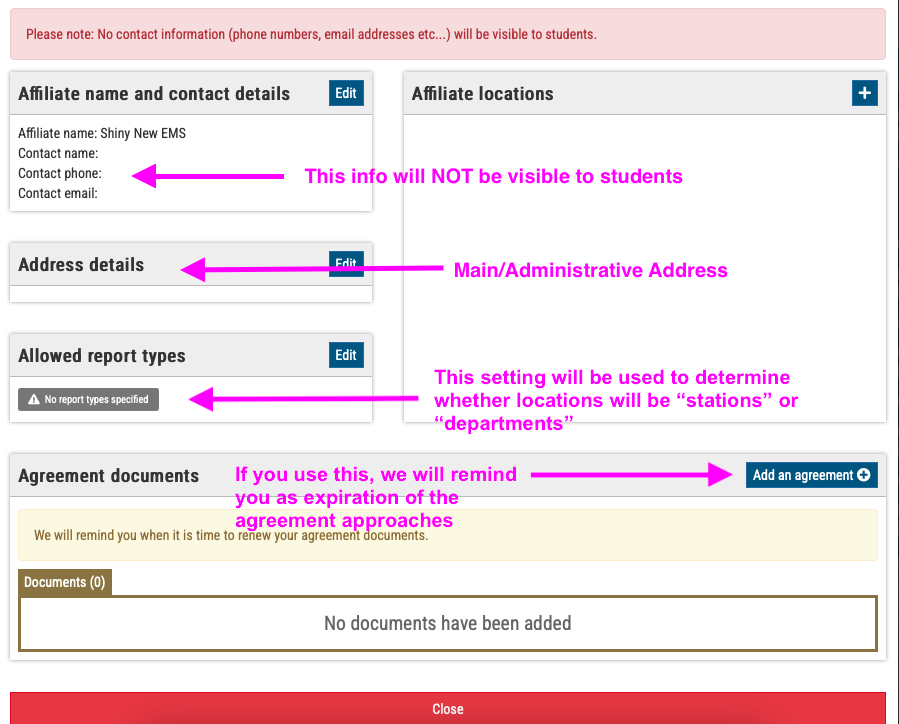
Next, you need to add Affiliate locations (or else the affiliate cannot be used)
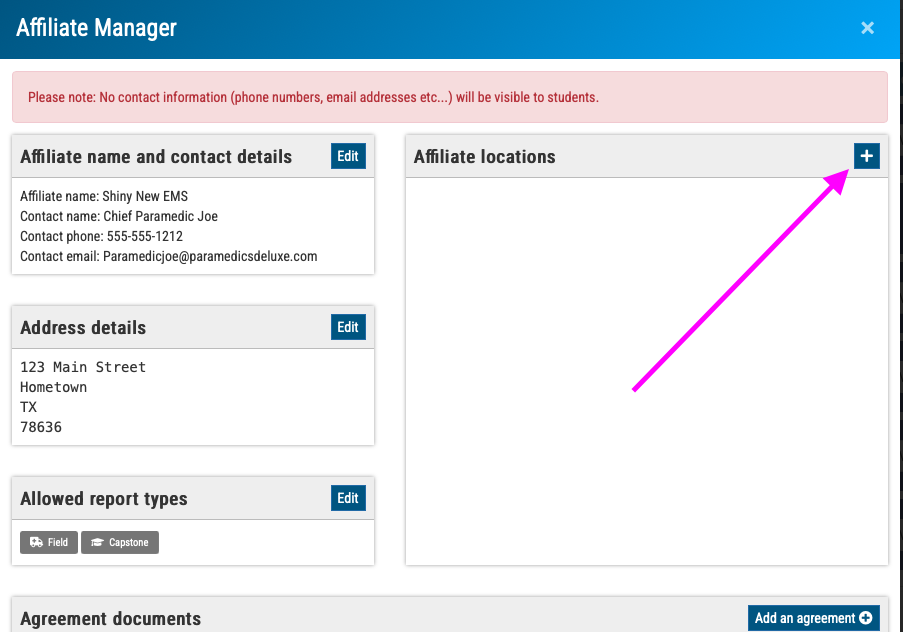
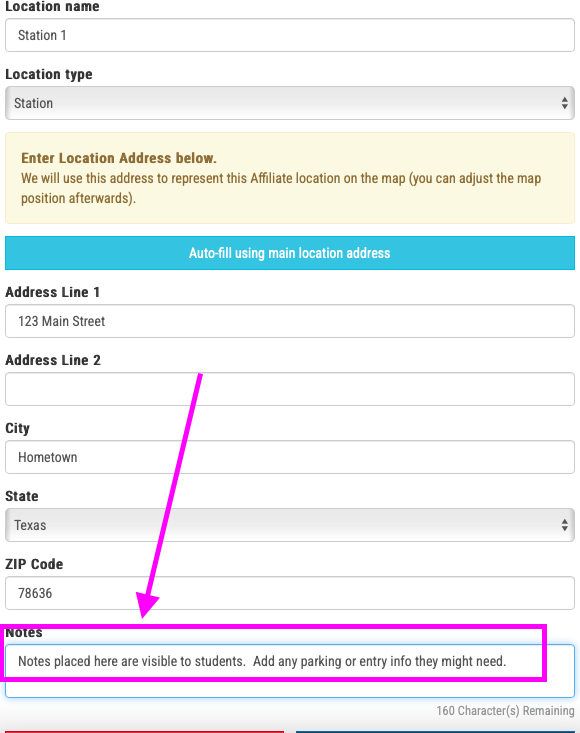
When you add affiliate locations, we have provided an area for Notes. These WILL be visible to students, so use it to convey info about parking, entry, food availabilty, or whatever other info they will need for that specific location.
IMPORTANT: Simulation shifts need an “affiliate”
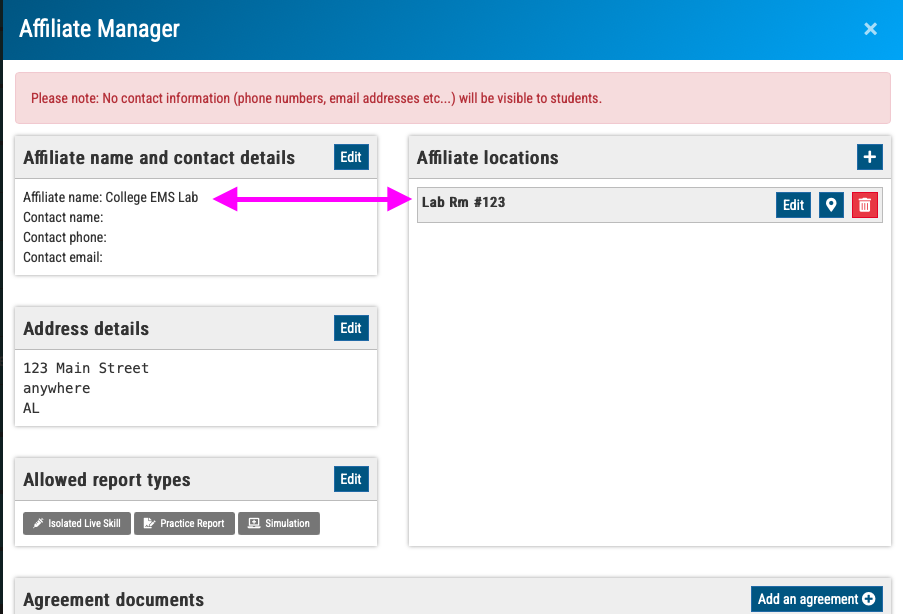
In Sterling simulation is treated JUST LIKE A REAL SHIFT; thus, the students will need an affiliate for those shifts.
Create an affiliate representing your program and then add a location representing your lab.
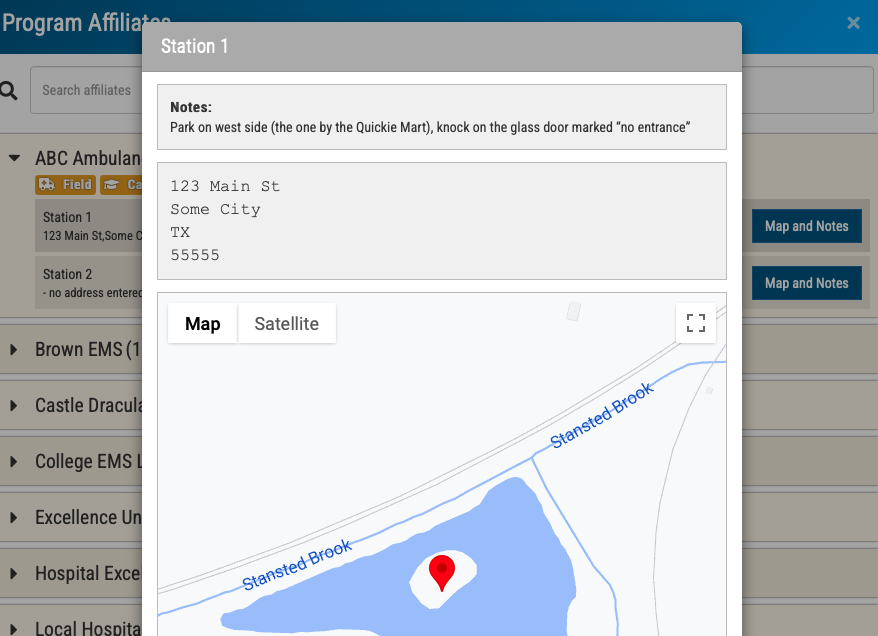
How does it look to students?
Students can look in their toolbar for Tools>>Affiliates. There, they can scroll the list or call up a specific clinical site via search. Their interface looks like this:
